Handle Design
- Anna
- Mar 20, 2019
- 4 min read

Last week I had established that I was going to make kitchen knife handles out of plastic. I knew that in order to get an organically shaped handle out of plastic there were two options: press the plastic into a squared mould and then cut it into a shape or create a handle-shaped mould and press the plastic into that. Since the second option guarantees a more exact and symmetric finish, I decided to create a new mould.
I started off by checking whether plastic could be pressed into a glazed ceramic shape or a plaster mould not stick to the mould.

Thankfully all tests were successful, and I was able to move onto making a mould. First, I made another prototype of my handle out of yellow foam. This material is a lot sturdier than the blue foam and allowed me to make a more exact version of the handle.


Once that was ready, Sean and Lauren, a fourth year Illustration student, explained how to make plaster moulds. Since this was my first time making a mould, it took a while, but Lauren was very patient and made sure that I understood what I was doing.
I started off with drawing a centre line all around my foam handle. This line was used as a guidance for creating a mould of exactly half of my handle.

Then I built a bed of clay, with half of the handle sticking out exactly where my centre line was drawn on the handle. Around the clay I built a wall that ensured that no plaster would be able to leak.


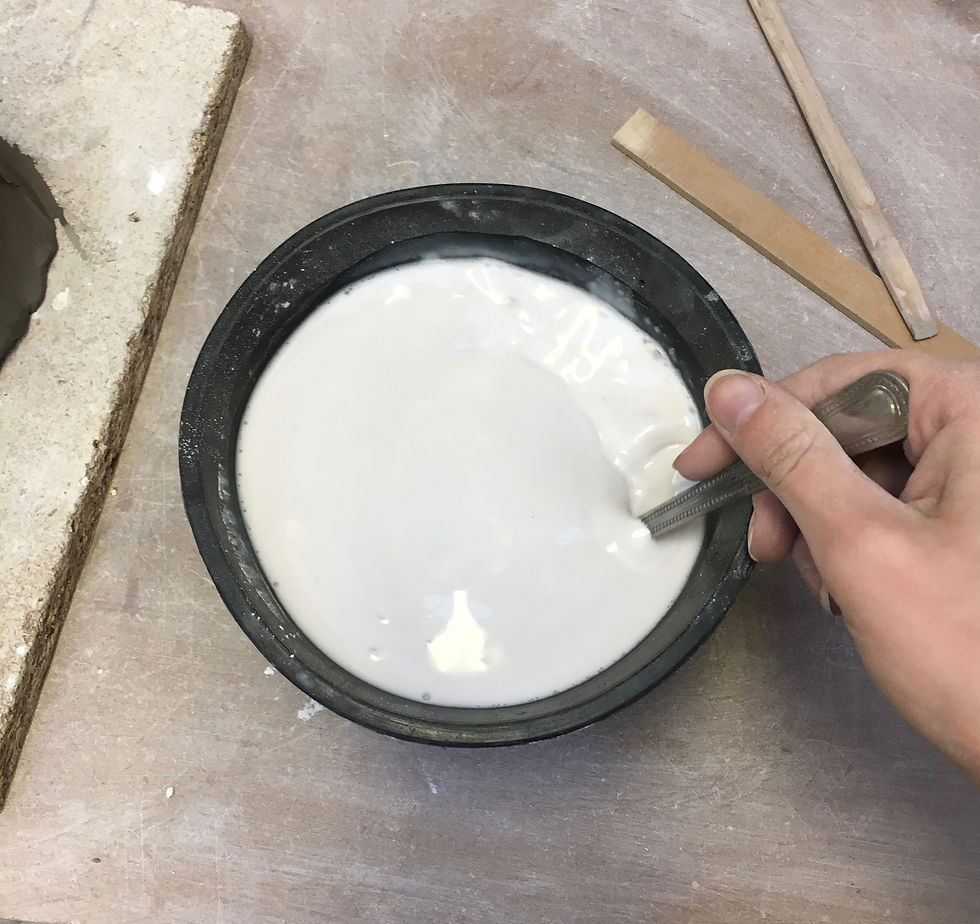
I then mixed together the plaster mixture until it was a smooth, thick fluid, which I then poured into my clay construction.
Once the plaster was dry, I cleaned the mould, created indents, soaped it up and built another wall around it.


I again mixed plaster together and then poured that into the clay walls. Once that was dry, I had successfully made a mould of both sides of my handle.
When Sean and I had discussed the process of making my moulds we had originally planned to make negative moulds out of clay. For that to happen, I would have to make a negative plaster mould (which I had already made at this point), use those to create a positive mould and then use that to create a negative mould made out of clay. I had gotten to the stage of making the positive plaster moulds when Sean and I realised that I was just creating unnecessary work for myself and that I technically only needed the first two mould to create the handle.
Simultaneously, I had been working on the branding for my project. Even though it is not a priority at the moment, I wanted to get this bit done as soon as possible. I feel like the branding will pull everything together in the end, which is why I have been trying to figure out a name for my project. However, I still have not really found a name that I am happy with. Nothing seems to combine my different focal points in a snappy way.

At the end of the week, I had another tutorial with Polly. I explained my new product idea to her, which Polly seemed to really like. We both agreed that knives are a demanded commercial product and the recycled plastic fits into the kitchen environment a lot better than it did in the living room one. Polly also encouraged me to rethink the handle design. While the ergonomic aspect is important, the design is not quite where it should be. She suggested to start off with a mood board and then go from there.
Additionally, she also encouraged me to think about my packaging. It would not only make my project seem more complete, but it also presents another opportunity to further showcase my branding. I really appreciated the constructive feedback and nudges into the right direction. After that meeting I felt really motivated to continue working on my project.
I ended the week by redesigning my handle shape. I made a mood board to get inspiration of what forms already existed. Polly had given me a list of shops and companies, which really helped as a starting point.

Additionally, I interviewed several senior chefs. I wanted to get insight information from professionals to figure out what important design elements I should include. The interviews were very insightful for my general design. Everyone said that there should definitely not be any harsh edges, including the end of the handle. Additionally, majority preferred longer handles that provide a stronger and sturdier grip. However, most importantly, all of them kept repeating that a good handle design depends on personal preference, there is not universally correct way to design a handle. That was very encouraging to hear, since I had tried to find a handle design that would suit everyone. Now I can focus on testing my handle on just a small selected group of individual, instead of trying to please everyone.
Using all of my research and previous experience, I sketched out more handle designs that look more stylish while still maintaining a focus on an ergonomic use.
For next week I plan on making three dimensional prototypes using blue foam to get a feel for the individual shapes. I will still use the mould I made to start making handle prototypes out of plastic. Lastly, I want to start thinking about my packaging.


Comments